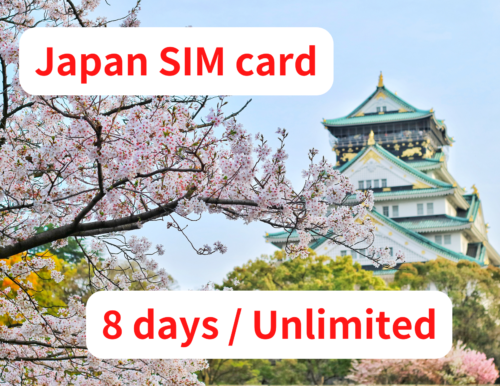
• 【How to Use?】 When you arrive in Japan, please connect to Wi-Fi first, and set up eSIM on your device. The instruction of eSIM set-up will be sent through email, after we confirm your order. STEP1:Access to Activation URL. Your activation URL will be sent through email from us. STEP2:Request activation code. You can complete this procedure from activation URL page. STEP3:Wait for around 15min. (Activation code will be issued for around 15min.) STEP4:Fill out activation code on your device.
    • Maintenance time will be from 10:00 p.m. Tuesday to 9:00 a.m. Wednesday, Japan time.
    • If you request an "Activation Code Issuance" during the maintenance time, it may take some time until the code is issued. Please wait as the codes will be issued sequentially.
  • 【How to Use?】 When you arrive in Japan, please connect to Wi-Fi first, and set up eSIM on your device. The instruction of eSIM set-up will be sent through email, after we confirm your order. STEP1:Access to Activation URL. Your activation URL will be sent through email from us. STEP2:Request activation code. You can complete this procedure from activation URL page. STEP3:Wait for around 15min. (Activation code will be issued for around 15min.) STEP4:Fill out activation code on your device.
    • Maintenance time will be from 10:00 p.m. Tuesday to 9:00 a.m. Wednesday, Japan time.
    • If you request an "Activation Code Issuance" during the maintenance time, it may take some time until the code is issued. Please wait as the codes will be issued sequentially.
  • Please set APN in Japan 【User Manual】How to Use the SIM Card STEP1:Turn off your device and set the SIM card in position Taking out the SIM card
    1. Wearing gloves, push the SIM card upward from the back.
    2. Push out the released SIM card to remove from the card completely.
    3. Turn off your device and insert the SIM card. Turn on your device. * For details on how to set up your device, please refer to your device's user manual.
    The customer is responsible for any incidents resulting from the swapping of a SIM card. STEP2:Set the APN settings and restart your device
    Name ppsim
    APN ppsim.jp
    User name pp@sim
    Password jpn
    Authentication type PAP or CHAP
    The set-up procedure and the setting names may differ depending on the OS and / or OS version of your device. For Android
    1. Select [Settings] on the main menu.
    2. Select [Settings] - [Wireless & Networks] - [More...], and then select [Mobile networks].
    3. Select [Access Point Names], and then select [New APN] from [+] or from the menu. Enter the APN, and authentication type provided above.
    4. Select [Save] from the menu, them return to the APN list and select the APN that you set up.
    For iOS
    1. Tap the settings icon on the Home screen.
    2. Select [Cellular] and turn on [Enable 3G] or [Enable LTE].
    3. Select [Cellular], and then select [APN Settings] or [Cellular Network].
    4. Set the Cellular settings using the APN provided above.

Title

Go to Top